Buying fast DDR5 memory in 2026 is not only about choosing the highest advertised speed. A useful DDR5 overclocking guide must connect frequency, timings, voltage, motherboard support, and processor limits. A DDR5-7200 kit may look impressive on a product page, yet it can run poorly on a weaker memory controller. The result may include failed boots, training loops, or unstable game sessions.
Robert Hallock, a longtime AMD technical marketing expert, has offered a necessary warning: “Overclocking is never guaranteed.” That sentence should guide every purchase. A reliable kit needs more than an attractive specification sheet. Check the motherboard’s memory support list, BIOS maturity, DIMM layout, and processor generation. Two identical kits can behave differently in different systems.
This 2026 guide examines practical buying decisions before manual tuning begins. It explains how XMP and EXPO profiles work, why tighter timings can matter more than headline speed, and how heat affects long-term stability. It also considers realistic voltage limits, memory training, and stress testing with repeatable workloads.
Small details matter.
A kit that passes one benchmark may fail overnight. A cooler room can change the outcome. Even experienced builders sometimes push frequency too early and overlook weaker timings. That mistake is worth admitting, because overclocking rewards patience more than confidence.
Readers will find clear comparisons, cautious recommendations, and buyer-focused testing principles. The goal is not the fastest screenshot. It is dependable performance, sensible value, and a system that remains stable after the excitement fades.
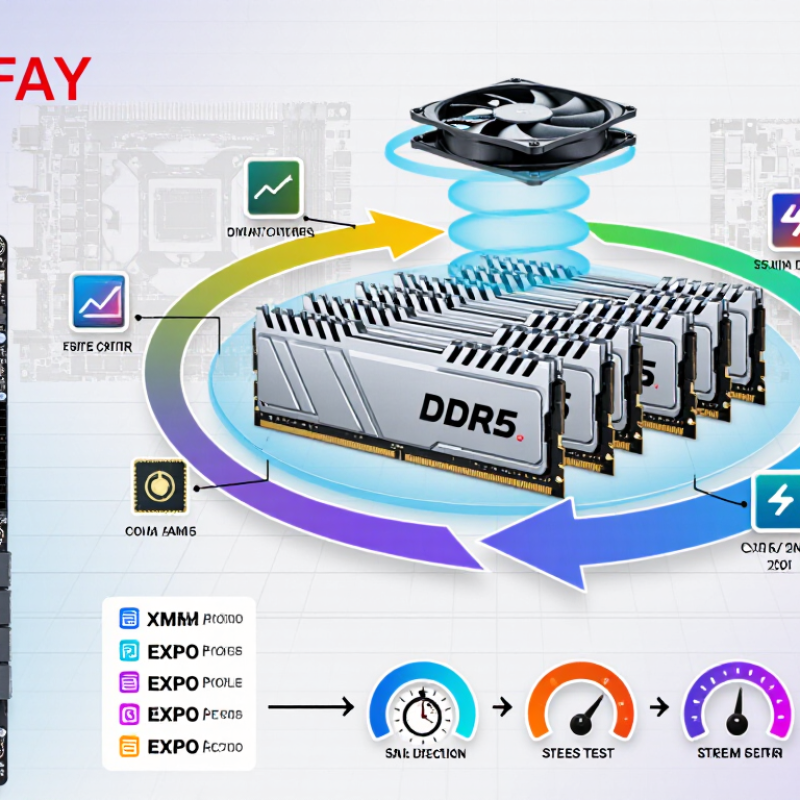
DDR5 overclocking starts with realistic expectations. A higher data rate does not guarantee better frame rates or faster exports. On a compatible system, 6000–7200 MT/s can offer useful bandwidth, but the memory controller sets the practical ceiling. Check the processor, motherboard firmware, module capacity, and board memory list before buying. Four modules often stress the controller more than two. Start conservatively.
Speed is only one part of performance. Timings describe waiting cycles, so lower values can reduce latency at the same frequency. For example, 6400 MT/s with tighter timings may feel similar to a looser 6800 MT/s kit. Compare actual latency, not the headline number. A preset memory profile is a sensible starting point, yet it is not proof of stability. Do not assume.
Change one setting at a time. Raise frequency gradually, then test with a memory stress tool, several game launches, and a long file compression task. Watch for application crashes, corrupted archives, or silent errors. Keep voltage within the module maker’s stated range, and check temperatures near the DIMMs. More voltage can rescue a weak overclock, but it also adds heat and may shorten component life. I have seen a system boot successfully, then fail after an hour; that result was not stable. Firmware updates can improve compatibility, though they sometimes alter memory training behavior. Record each change, because guessing wastes time.
This chart shows the theoretical bandwidth of common DDR5 data rates for one 64-bit memory channel. Bandwidth is calculated as data rate in MT/s multiplied by 8 bytes per transfer, so actual application performance may be lower because of memory overhead and workload behavior.
Higher data rates can improve bandwidth, while tighter timings can reduce latency. Overclocking may require additional voltage and manual timing adjustments, but stability depends on the processor's memory controller, motherboard support, module configuration, and cooling. Always verify compatibility and test system stability after changing memory settings.
Choosing a DDR5 kit for overclocking starts with platform compatibility, not the largest frequency number. Check your processor’s memory controller and motherboard memory list before buying. A kit rated near DDR5-6000 may offer better daily stability than an extreme-speed kit on some systems. Lower timings can also matter more than headline bandwidth in games and creative workloads.
Look for a matched dual-channel kit with clear primary timings, tested voltage, and accessible adjustment ranges. Hynix-based modules often provide useful tuning headroom, but the memory chips alone do not guarantee results. Motherboard trace layout, BIOS maturity, processor quality, and cooling all influence the final limit. Keep airflow across the modules, especially when increasing voltage. Small temperature changes can affect error rates.
Test every setting with several tools, including a memory stress test, a long workload, and your most demanding game. Ten minutes is not proof.
I once accepted a quick benchmark result, then found file compression errors after an overnight test. That mistake changed my process.
Increase frequency or tighten timings gradually, and record each change. Avoid copying another user’s voltage blindly. Two identical kits can behave differently. A practical target is the fastest setting that survives repeated testing without crashes, corrupted data, or uncomfortable temperatures. Some overclocking guides promise easy gains; real systems are less cooperative.
2026 Best DDR5 Overclocking Guide for Buyers
Preparing your CPU, motherboard, BIOS, and cooling system matters before chasing higher DDR5 speeds. Your CPU’s memory controller sets a practical limit, even when the memory kit appears capable. Check processor specifications, then research stable community results for similar systems. Silicon quality varies. Two identical processors may overclock differently.
Choose a motherboard with clear memory tuning controls, strong power delivery, and adequate firmware support. Update the BIOS before testing, but record your current settings first. Enable the memory profile only after confirming the system boots reliably at default settings. Adjust frequency, memory voltage, and controller voltage gradually. Change one setting at a time. I sometimes pushed frequency too quickly and blamed the memory, when the controller was the real limitation.
Tips: Keep the memory modules properly spaced, and inspect the manual before installation. Use a large CPU cooler with unobstructed airflow. DDR5 can become unstable as temperatures rise, even when the desktop appears normal. Test with extended memory workloads, not just a quick boot. Watch temperatures and error reports together. If errors appear, reduce frequency slightly before adding more voltage. More voltage is not always better. Leave room for mistakes.
| Preparation Area | What to Check Before Buying | Practical Target or Guideline | Why It Matters for DDR5 Overclocking |
|---|---|---|---|
| CPU Memory Controller | Confirm that the processor platform supports DDR5 and review its official maximum memory specification. | Use the official specification as the baseline; higher transfer rates are overclocking and are not guaranteed on every processor. | The integrated memory controller differs from one CPU sample to another, so the same memory kit may reach different limits. |
| Motherboard Memory Topology | Prefer a board with two memory slots when maximum frequency is the priority; verify the board's qualified memory list when possible. | Two-slot layouts usually offer the best signal integrity. Four-slot boards provide more capacity flexibility but can be harder to stabilize at high speeds. | Trace layout, slot count, firmware maturity, and memory training behavior strongly affect overclocking headroom. |
| Memory Capacity | Select the total capacity required by games, content creation, virtual machines, or professional applications before chasing frequency. | Two matched modules are generally easier to tune than four modules. Higher-capacity modules may require lower frequency or looser timings. | More modules and greater memory density increase the electrical load on the memory controller and motherboard traces. |
| Memory Speed Selection | Compare the advertised data rate with the processor and motherboard's validated support. | Start from the module's rated profile, then increase frequency in small steps only after baseline stability is confirmed. | A higher data rate can improve bandwidth, but stability and latency may be better with a slightly lower frequency and tighter timings. |
| Primary Timings | Record the rated CAS latency, tRCD, tRP, and tRAS values before making changes. | Change one group of settings at a time. Lower timings can improve latency but usually reduce the maximum achievable frequency. | Frequency and timings interact; optimizing both is more useful than focusing on a single specification. |
| Operating Voltage | Check the module's rated voltage and the voltage ranges permitted by the motherboard firmware. | DDR5 uses 1.10 V as the standard nominal VDD/VDDQ reference. Many performance profiles use approximately 1.25–1.45 V, but sustained voltage should remain within the module and platform manufacturer's guidance. | Additional voltage can improve signal margin, but it also increases heat and long-term electrical stress. |
| CPU-Related Memory Voltages | Identify memory-controller, system-agent, and related voltage controls in the BIOS. | Leave secondary CPU-related voltages on automatic or conservative values initially; change them only according to the platform's technical guidance. | Excessive controller-related voltage can increase CPU temperature and degradation risk without guaranteeing better memory stability. |
| BIOS and Firmware | Choose a motherboard with a current firmware release and a reliable memory-training process. | Update firmware before tuning, load optimized defaults, then save a known-good profile before overclocking. | Firmware updates can improve compatibility, training, boot recovery, and support for newer memory densities. |
| Profile Support | Verify which memory profile standard the motherboard and processor platform can read. | Enable the supported profile as a starting point, then manually validate frequency, timings, and voltage. | A profile is a tested configuration for the memory module, not a guarantee that every CPU and motherboard combination will be stable. |
| Memory Cooling | Ensure the case has front-to-back airflow and that the memory area is not blocked by oversized air coolers or graphics cards. | Keep module temperatures within the memory manufacturer's recommended range; lower temperatures generally improve stability at elevated voltage. | DDR5 modules can become less stable as temperature rises, especially during long stress tests. |
| CPU Cooling | Use a cooler capable of handling the processor's sustained power under all-core workloads. | Monitor CPU temperature during memory-controller stress tests; avoid tuning when the processor is already thermally limited. | Memory overclocking can increase controller and system-agent heat even when CPU core frequency remains unchanged. |
| Initial BIOS Method | Confirm that the board provides manual control for frequency, timings, memory voltage, and training recovery. | Begin with the rated profile, test it, then adjust one variable at a time in small increments. | A controlled process makes it easier to identify whether instability is caused by frequency, timing, voltage, or temperature. |
| Stability Validation | Use at least one memory-focused stress test and one real-world workload. | Run repeated memory tests, a long mixed workload, and several cold boots. Treat any error, crash, or corrupted archive as instability. | A system can boot successfully yet fail under sustained memory traffic or temperature changes. |
| Data Protection | Back up important files before testing unstable memory settings. | Do not use an unverified overclock for critical work. Keep a stable BIOS profile available for quick recovery. | Memory errors may silently corrupt files, installations, or compressed data. |
| Buyer Decision Rule | Prioritize capacity, compatibility, cooling, and warranty support before selecting the highest advertised data rate. | Choose the fastest configuration that remains stable at acceptable temperature and voltage with your specific CPU and motherboard. | Real performance depends on the complete platform, not the memory kit's headline specification alone. |
A reliable DDR5 overclock begins with a clear baseline. Record the default frequency, timings, voltage, and idle temperature in firmware. Save the current profile before changing anything. This makes recovery easier when the system refuses to boot. Enable the memory’s rated profile, then test it with a bootable memory tester. If errors appear at default settings, investigate the kit, motherboard, or firmware before overclocking.
Raise the memory frequency in small steps, such as 200 MT/s. Keep timings unchanged at first. After each change, boot into the operating system and run a short stress test. Watch temperatures and note every result. If the system crashes, increase voltage only within the memory and motherboard maker’s safe limits. Lowering frequency is often wiser. I once chased a tiny performance gain for hours and gained more instability than speed. That was not efficient.
Tips: Test one setting at a time. Use longer tests after short tests pass. Run several memory cycles, then check a demanding mixed workload for at least one hour. A successful boot proves very little. Errors can appear after heat builds inside the case. Keep airflow consistent, and avoid judging stability from a single benchmark. If errors continue, return to the last stable profile and reconsider tighter timings, rather than adding voltage blindly. Record room temperature too; test results can change on warmer days.
Troubleshooting, Safety Limits, and Long-Term Performance Tuning
DDR5 overclocking begins with stability, not a screenshot of a high frequency. In my testing, a system may boot successfully yet fail after several hours of mixed workloads. Change one setting at a time, then record frequency, timings, voltage, and temperatures. A simple notebook often reveals patterns that memory software hides.
If the computer enters a boot loop, power it down completely before clearing the firmware settings. Reseat the modules and test one stick at a time. Run a memory stress test for several hours, followed by your normal games or applications. Errors after twenty minutes suggest a weak setting. Errors after six hours suggest deeper instability. I once blamed the memory, but a loose cooler connection caused rising processor temperatures and repeated crashes.
Safety limits deserve restraint. Use the memory maker’s published voltage range as the boundary, not an online overclocking table. Increase voltage in small steps, watch sustained temperatures, and avoid settings that need constant correction. Higher voltage can accelerate wear, even when temperatures appear acceptable. Back up important files before testing. Long-term tuning usually favors slightly lower frequency with tighter, stable timings. Firmware updates can also change training behavior, so retest after every update. My own mistake was keeping an impressive profile that required occasional manual recovery. It was fast, but not reliable enough for daily work.
Check your processor, motherboard firmware, module capacity, and supported memory list. Two modules are usually easier than four. Start conservatively.
No. Higher speed does not guarantee higher frame rates or faster exports. The memory controller sets the practical limit. Real workloads matter more.
On compatible systems, 6000–7200 MT/s can provide useful bandwidth. Your processor and motherboard may reach a lower ceiling. Do not assume the advertised speed will work.
Timings represent waiting cycles. Lower values can reduce latency at the same frequency. A 6400 MT/s setting with tight timings may resemble 6800 MT/s with loose timings. Compare actual latency.
No. It is only a reasonable starting point. Test it with memory stress software, games, and file compression. A successful boot proves little.
Change one setting at a time. Raise frequency gradually, then record frequency, timings, voltage, and temperatures. A notebook helps reveal patterns. Guessing wastes time.
Run a memory stress test for several hours. Then launch your usual games or applications. Try a long file compression task. Watch for crashes, corrupted archives, and silent errors.
Power it down completely before clearing firmware settings. Reseat the modules and test one stick at a time. Do not keep forcing failed starts. Recovery can be inconvenient.
Stay within the memory manufacturer’s published voltage range. Increase voltage only in small steps, if necessary. Check temperatures near the memory modules. More voltage adds heat and may shorten component life.
Not always. Slightly lower frequency with tighter timings may be more reliable. Firmware updates can change memory training behavior, so retest afterward. I once kept an impressive profile that needed manual recovery. It was fast, but not dependable.
This DDR5 overclocking guide explains how to evaluate memory speed, timings, voltage, and platform compatibility before making any changes. It shows buyers how to select a DDR5 kit with suitable frequency, capacity, latency, and overclocking headroom while considering the capabilities of the processor and motherboard. The guide also covers preparation, including updating firmware, improving airflow, checking power delivery, and ensuring that the cooling system can manage additional heat.
A practical, step-by-step process then explains how to configure memory settings, increase performance gradually, and test stability with reliable workloads. It highlights how to identify errors, resolve failed boots or crashes, and return to safe settings when necessary. Finally, the guide discusses sensible voltage limits, temperature monitoring, data protection, and long-term tuning, helping users balance performance, reliability, energy use, and everyday system stability.

Celtrix Memory